
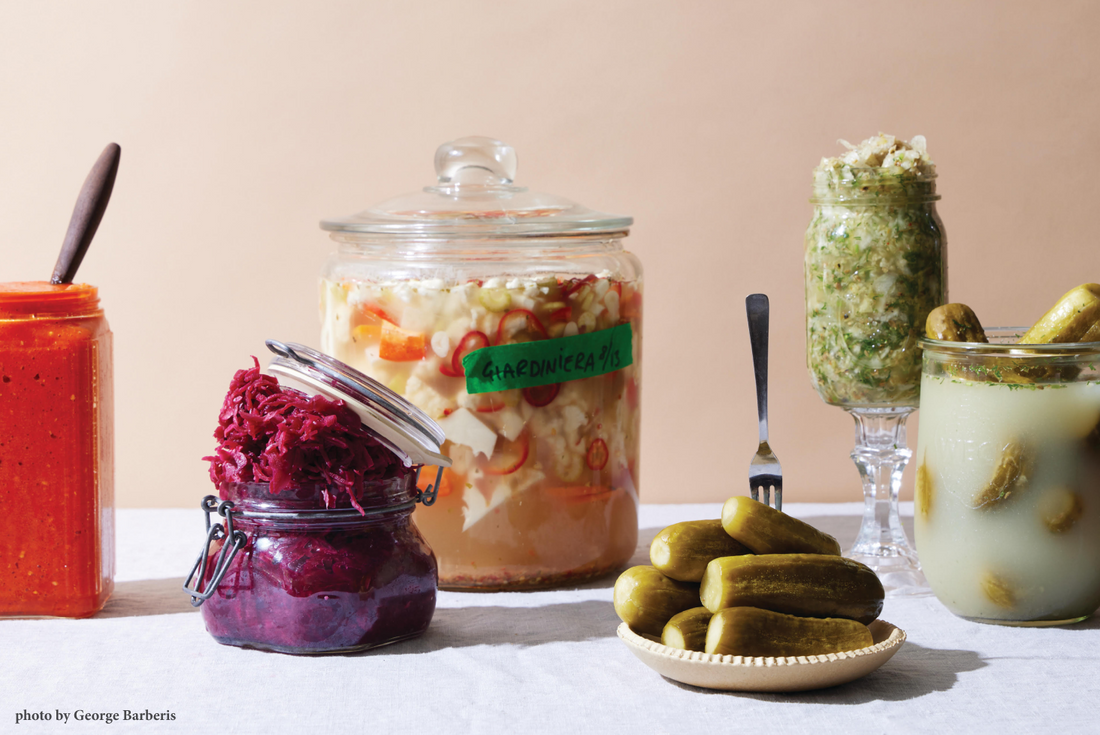
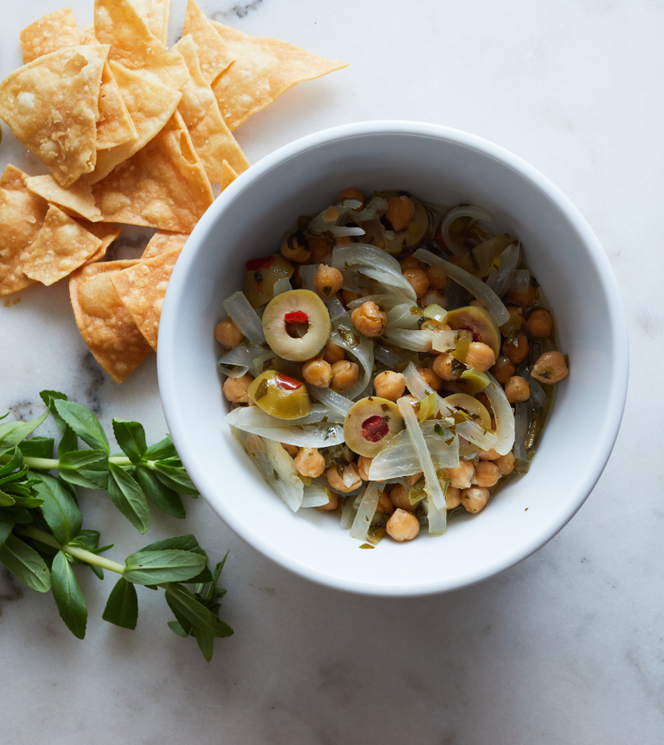
Spicy Fermented Giardiniera
“I really wanted a classic giardiniera for Fermenter...
like you find on antipasti platters, but rather than pickling all the vegetables in vinegar, which is definitely the norm, I wanted to ferment ours and also make it fairly spicy. Pretty much all store-bought giardiniera is pickled with vinegar—bracingly salty and sour, with a hint of sweetness. Ours is all that, with some funk thrown in.”
~ Aaron Adams, Owner and Chef of Fermenter

Fermenter is Portland’s one-of-a-kind vegan restaurant led by chef Aaron Adams, that elevates seasonal veg through the magic of fermentation. Adams’ recently published book, co-authored with local foodwriter and ferment freak Liz Crain, details the restaurant's DIY, not-afraid-to-fail cooking ethos while showing home cooks how to make funky, flavorful ferments and tasty foods that incorporate them.

What You'll Need
Ingredients
For the shopping list
- 2 pounds (1 head) cauliflower, trimmed and cut into small florets
- 4 red fresh Fresno chili peppers, or 2 to 4 medium-size, medium-hot fresh chili peppers, stemmed and thinly sliced
- 1 red bell pepper, diced into roughly 1/4-inch pieces
- 3 to 4 medium carrots, peeled and sliced diagonally into roughly 1/8-inch-thick slices
- 5 to 6 celery stalks, sliced into roughly 1/4-inch-thick slices
- 5 to 6 cloves garlic, peeled and thinly sliced
- 1 tablespoon plus 1 teaspoon yellow mustard seeds
- 1 teaspoon fennel seeds
- 2 1/2 quarts water

Equipment
From the kitchen
- 1-gallon jar or crock
- ferment weight and follower - see note in step 2 for further details
- liquid measuring cup
- measuring spoons

What you'll have to do
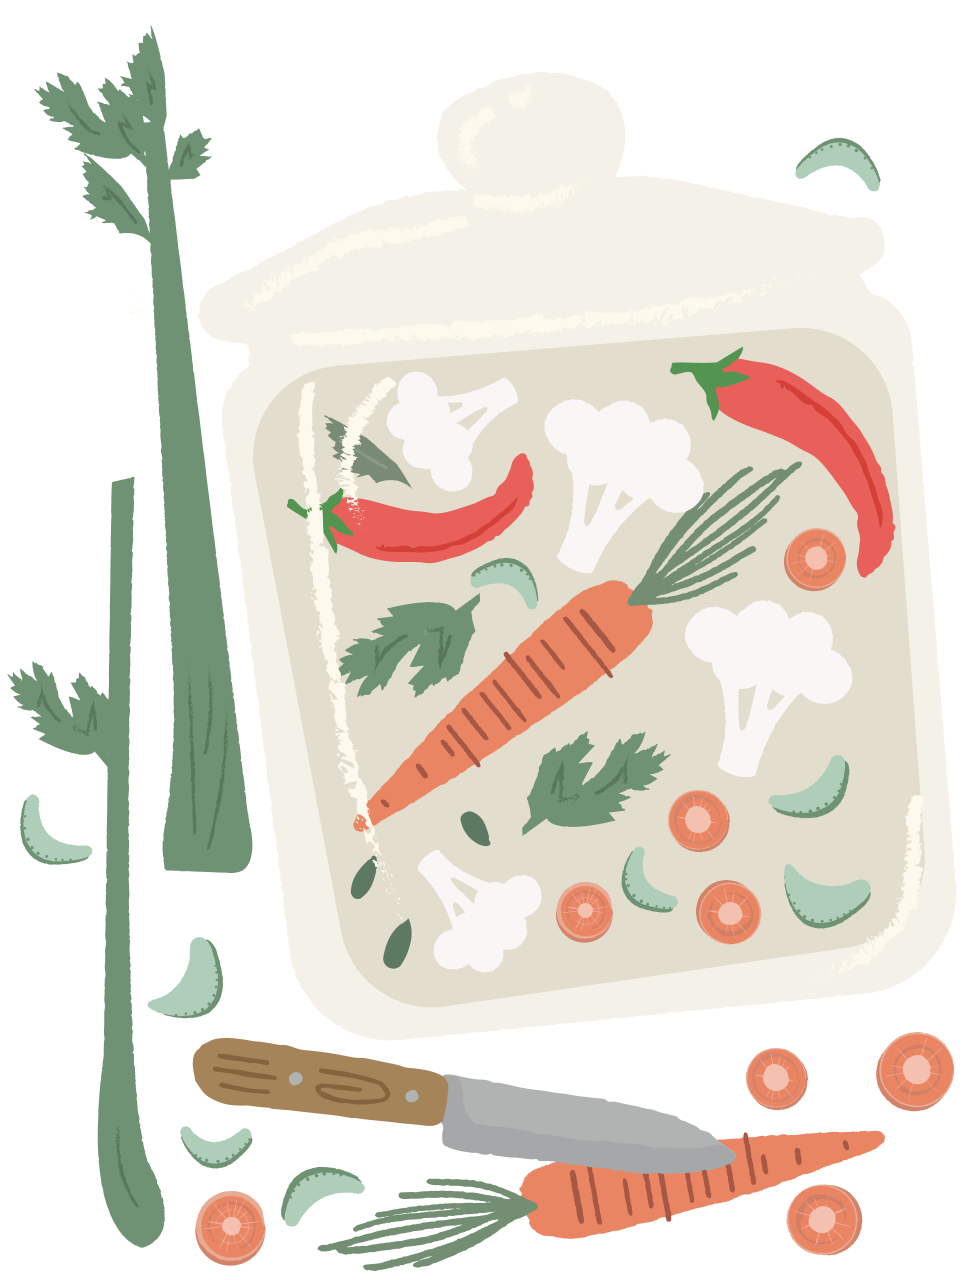
Step 1 — Put the cauliflower, Fresno peppers, bell pepper, carrots, celery, garlic, mustard seeds, oregano, fennel seeds, and salt in a 1-gallon jar or crock. Add the water, leaving at least 2 inches of headspace, and stir to dissolve the salt.
NOTE: Either tare/weigh your ingredients as you add them to your jar or crock to get to our desired 2.5% salt content, or simply add 5 to 6 scant to heaping tablespoons to taste. We've found that Havsno sea salt is slightly lighter in weight than many sea salts on the market, so if you do not tare/weigh here, please use 6 scant to heaping tablespoons to taste. Always taste! If you do tare/weigh instead, tare your fermentation vessel once it is on the scale, in other words reset the weight to 0 grams. Once tared, add all of the ingredients you'll be fermenting, except for the salt. Yes, you weigh the water as well. Once you have the total number of grams of all the ingredients in your vessel, multiply that number of grams by 0.025. The resulting number is the weight in grams of the salt you'll want to add. So go ahead and weigh out that amount of salt and add it to the giardiniera.
Step 2 – Top the giardiniera with your preferred follower and weights. You want it to bubble and off-gas as it ferments, but you don’t want any air in direct contact with it. Place the vessel in a bowl or deep dish in case it overflows at any point.
NOTE: There are many ways to go with ferment weights and followers -- from a super-simple sealable plastic bag filled with brine to a combination of plastic wrap (the "follower" that sits directly atop the veggies; alternatively use a cabbage leaf, grape leaf...) that is then topped with a stone, glass, or ceramic weight. Basically, you just want something durable here to keep the fermenting veggies submerged below the brine and somewhat shielded from air. A brine-filled small sealable bag serves two purposes: it weighs down the ferment, and it seals all the surface gaps of the vessel. The point is to keep air out and prohibit airborne molds from entering.
Step 3 — Ferment at room temperature (55 to 75 degrees F) and out of direct sunlight for 5 days and up to 2 weeks. The colder the temperature, the slower the giardiniera ferments. I usually like the flavor and crunch best in the above range because the longer the giardiniera ferments, the tarter, more pungent, and softer it gets. During the fermentation process, you can add more salt to taste—just sprinkle it directly into the vessel.
Step 4 — Check on it every day or so with clean or gloved hands. I recommend sampling the giardiniera each time you check on it. Always make sure the vegetables are submerged: if they aren’t, they might get moldy. If there’s any sort of buildup, wipe down the inside of the fermentation vessel with a clean towel. Clean and rebuild your plastic wrap follower, weight, and cloth cover.
Step 5 — Once the giardiniera is to your liking, add the olive oil (you may need to remove some brine to do so) and stir to combine. Store it in the refrigerator for up to 2 months. It keeps longer than that, but becomes less vibrant and yummy. Be sure to give everything a good stir whenever you serve it, in order to reincorporate the olive oil.
© 2023 by Aaron Adams and Liz Crain. All rights reserved. Excerpted from Fermenter by permission of Sasquatch Books.
Photo credit goes to George Barberis and Liz Crain
Shop this recipe
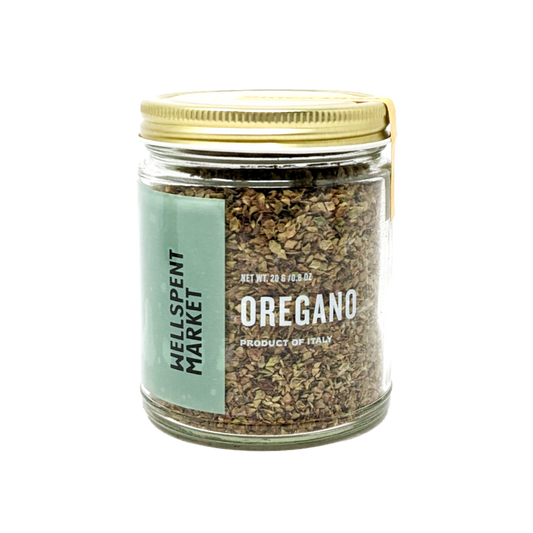
Salt, Herbs, & Spices
Oregano
Pantelleria - Sicily
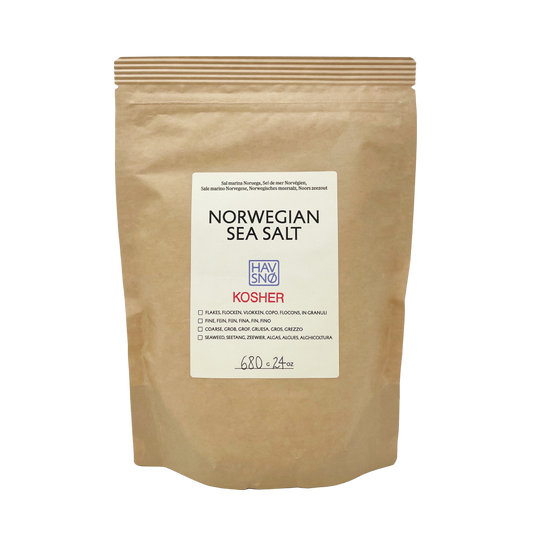
Salt, Herbs, & Spices
Fine Kosher Sea Salt
Gossen Island - Norway
Out of stock
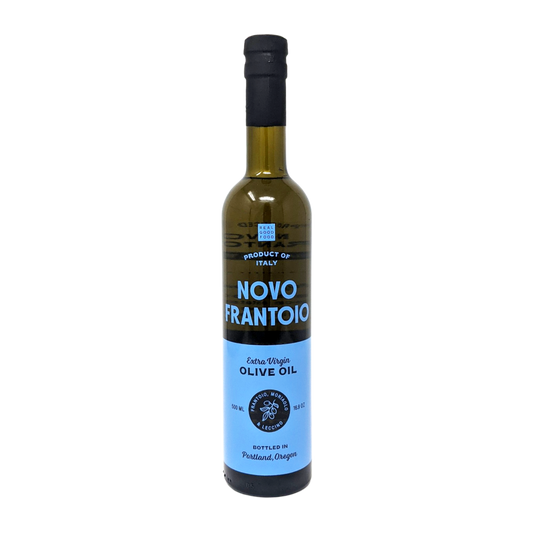
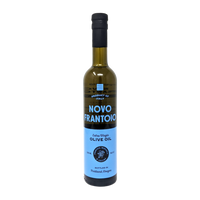
Olive Oil
Novo Frantoio
Tuscany - Italy
More recipes
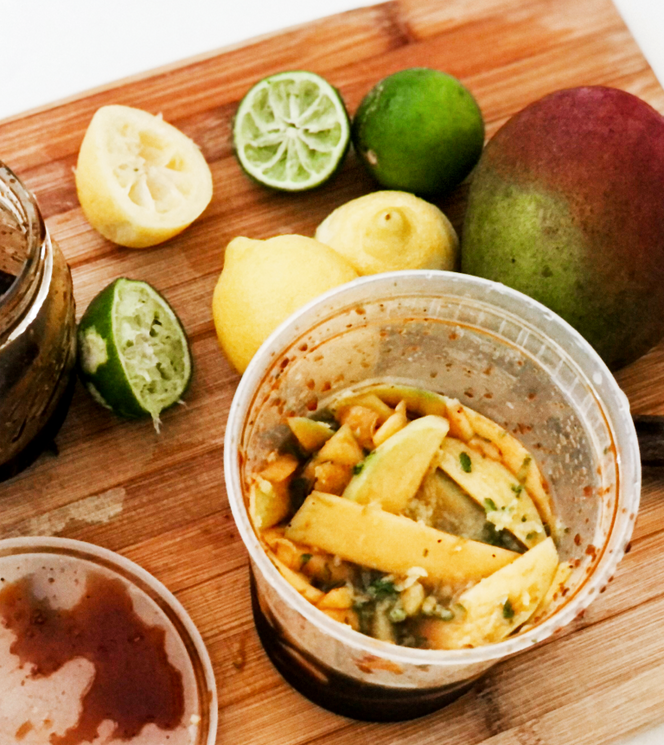
Green Mango & Soy Sauce
An easy treat from the Islands, this no-cook recipe combines tangy mango with salty soy sauce for an addictive snack.